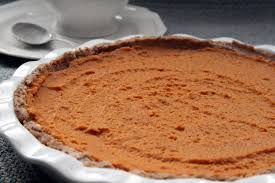
 The BEST Raw Pumpkin Pie Recipe
This pumpkin pie, is FOR SURE, the BEST pumpkin pie I have ever had the chance of experiencing. The crust is incredibly tasty, and the filling is to die for! So much better than a plain dough crust and refined-sugar infused filling (with who knows what other chemicals are hidden in there!). It is 100% raw, gluten-free, nut & seed free, low-fat and AMAZING!
Pumpkin is one of my favorite fall treats because it is loaded with so many vitamins, minerals, antioxidants and phytonutrients (especially when eaten raw, such as in this recipe!). Pumpkins are packed with muscle-building protein, contain lutein for eye health, help support a healthy prostate, bladder and kidneys, help lower cholesterol, rich in B-complex group of vitamins, and they contain vitamin C, E, iron, zinc, magnesium, potassium, & alpha and beta carotenoids, which help prevent cellular damage!
Ingredients:
Crust:
– 1 mature coconut
– 1-1.5 cups raisins
– pinch of cinnamon
1. Take the coconut and cut open – take out meat and shred it into flakes (I used my juicer, and just processed the coconut – the pulp that comes out resembles fresh coconut flakes!)
2. Put coconut flakes & 1 cup of raisins into food processor. Blend for awhile, until it starts to clump and turn into “dough” – you can add more raisins if you like, just make sure the mixture is not too sticky, so somewhat dry.
3. Form this into a pie dish to resemble the crust.
Filling:
– 1 sugar pumpkin
– 7-10 dates, pitted
– 1/2 tsp. cloves
– 1 tsp. cinnamon
– 1 inch piece fresh ginger root (or 1-2 tsp. dried ginger powder)
1. Peel sugar pumpkin, and take out seeds.
2. Cut into little pieces and put into a high-speed blender like the Vitamix.
3. Put in dates, and spices and ginger.
4. Put in a little bit of water to get the mixture started.
5. Blend until smooth (the Vitamix is a great blender for blending pumpkin!)
Put filling into pie crust, and voila! You can put it in the freezer to set it a bit if you please, but I just put mine in the fridge and kept it overnight. Enjoy! Leave a comment below and tell me how it went!
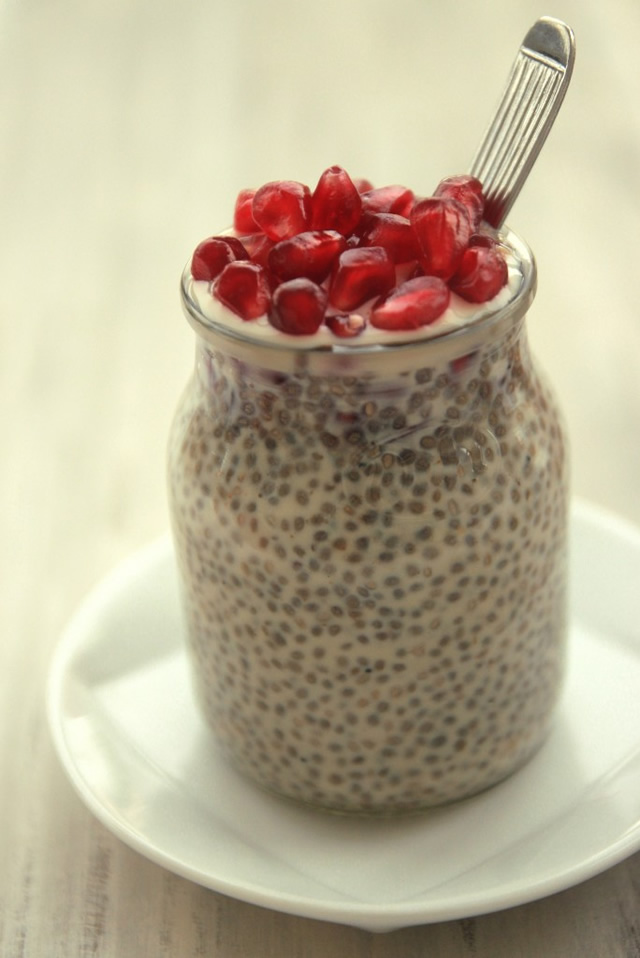
 Go get some chia seeds and make rich, delicious chia pudding right now – you’ll love every bite of it, I promise!
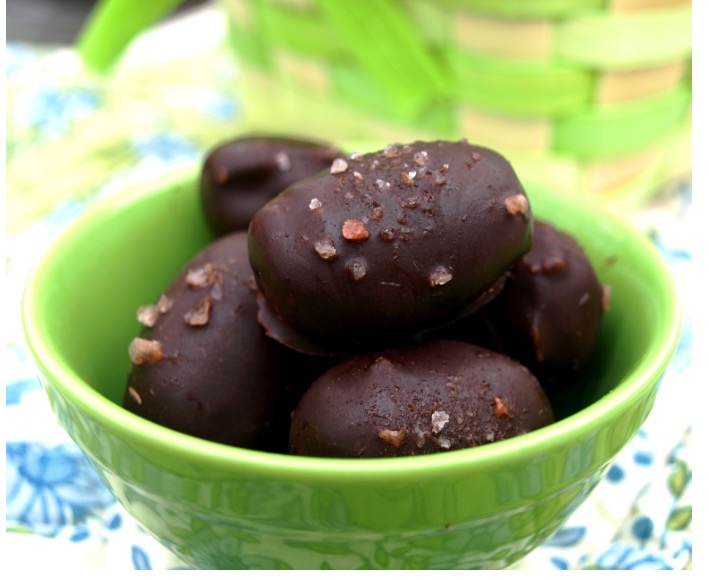
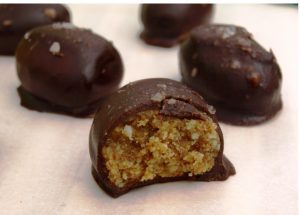 If you’re looking to make an easy last minute Easter treat, these Salted Dark Chocolate Almond Butter Eggs are the perfect choice!they have simple
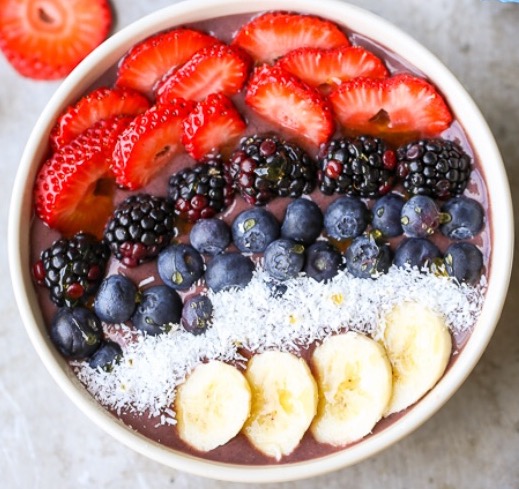
 Acai berries are a great source of fiber and healthy fats. They increase energy production in the mitochondria, keep you hydrated, and help your body fight against oxidative stress, as it is said that their antioxidant benefits are higher than most of the other berry fruits, including blueberries.
 >strong>Instructions
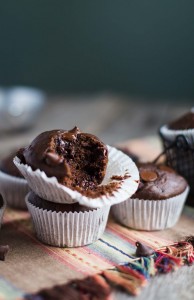 The healthy fats in the avocado make these cupcakes as healthy as a bowl of kale and bean soup! OK, maybe not that healthy, but healthy enough to feel good about reaching for more. Each cupcake offers almost five grams of fiber and is just 230 calories. A regulat chocolate cupcake is 600++ calories! So you can indulge and have a second one.
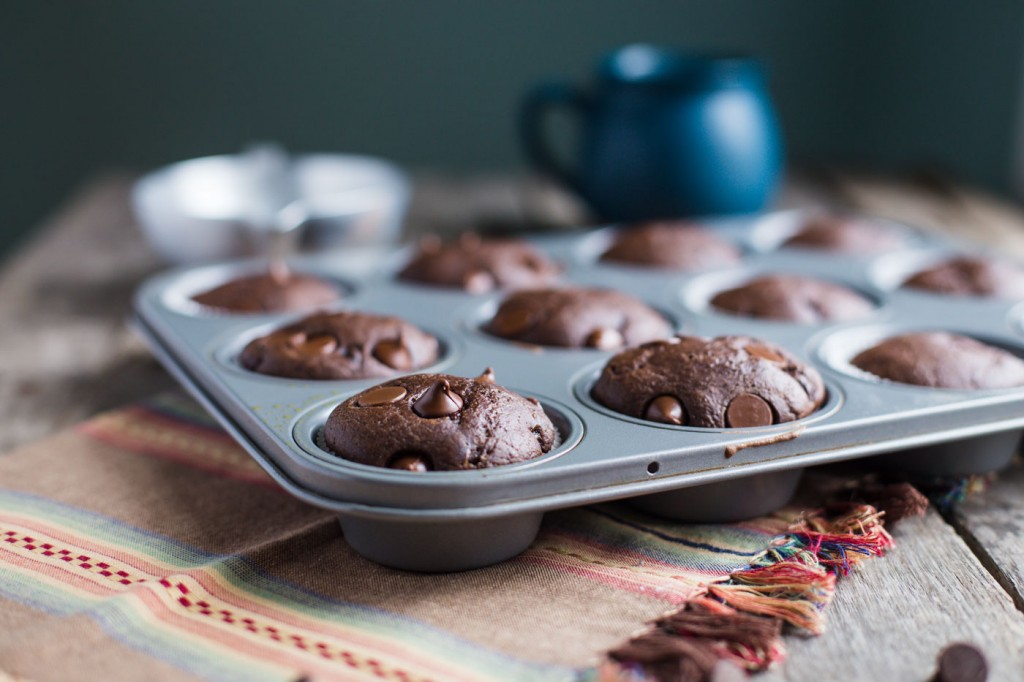
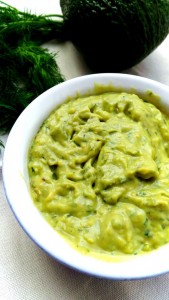 This avocado dill dip can bring a delicious wrap to that next level perfection. It’s perfect for wraps, burritos, tortillas or tacos. It has a very fresh, yet fragrant flavor thanks to our buddy Garlic.
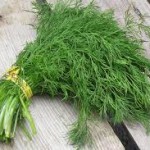 Lemon is highly alkalizing and full of Vitamin C, which is important for the synthesis of collagen – the protein, that holds the skin together and makes it nice and firm.
  Further the combination of Vitamin C from Lemon with Vitamin E from Avocado increases the antioxidant properties of both vitamins, so evil free radicals have no chance at damaging your skin.
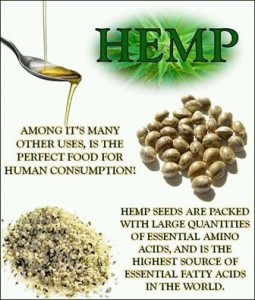 Hemp Seed Nutrition Profile
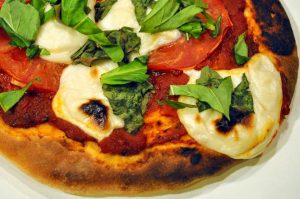
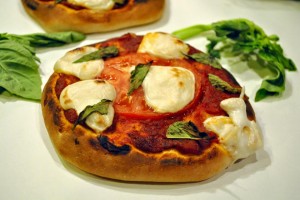 HOW TO MAKE FRESH VEGAN MOZZARELLA CHEESE PIZZA