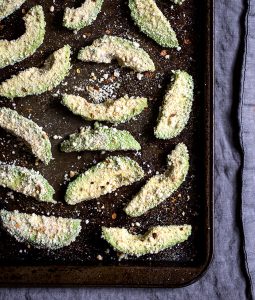
 Celebration TACOS? Why not? What better way to celebrate any occasion than with tacos, stuffed with crispy, baked, avocado, some roasted radishes, some spicy smashed siriacha beans, and some crunchy bits. When I made these, I was just playing around with the idea of crispy avocado. I wasn’t sure how I would feel about a warm and crunchy avocado (I like my avocado, cool and creamy) but ….. I have to say, I feel really really really good about warm, crunchy avocado, especially when it’s in a tortilla. with lots of other delicious stuff.
These tacos are very easy to throw together, so they are perfect for a fun, simple weeknight meal, or great if you want to invite some friends over for a taco party. Less time cooking, more time celebrating and partying is what I am all about right now.
 Crispy Avocado Tacos
MAKES
about 8-10 tacos
INGREDIENTS
about 1 cup of butter radishes, quartered
a drizzle of olive oil
salt + pepper
3-4 avocados, that are on the firm side
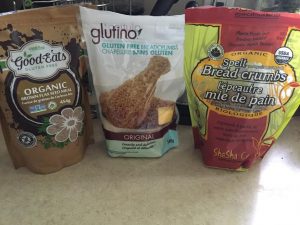
1/4 cup of bread crumbs (gluten-free if you want to make this gf)
1 can of (organic, no-sodium) cannelloni beans, drained
2 tablespoons of your favorite sriracha
about 1 cup of purple or green cabbage, shredded (sliced very thin)
about 10 tortillas (I like to use Ezekiel gluten-free sprouted tortillas)
*additional (optional) toppings: micro greens, pain yogurt, sautée onions
METHOD
Roast the radish:
Pre-heat the oven to 400º.
Place the sliced radish onto a baking sheet and drizzle with olive oil and season with salt and pepper.
Roast for 10-15 minute until the radish is soft. Remove and set aside until you’re ready to assemble the tacos.
Prepare + bake the avocado:
Turn the oven heat up to 425º.
Slice the avocados by halving them, remove the pit, and then using a spoon, gently separate the avocado from the skin (keeping it in one piece). Then slice each half, lengthwise, into three slices. Each avocado will yield 6 slices.
Pour the bread crumbs onto a plate or flat surface, and one by one, dip the avocado into the bread crumbs so they are completely coasted on both sides. Then place them onto a baking sheet (season with salt and pepper if your bread crumbs are not seasoned). Do this until all of the avocados have been coated.
Bake in the oven for about 10 minutes, until the crust has become light brown.
While the radish and avocados are baking,
prepare the beans:
Place the drained beans into a bowl with the sriracha, and mash it all together with a fork. Do this until they are all roughly mashed.
Assemble the tacos:
Place a spoonful of the sriracha beans onto the center of the tortilla. Then top with 2-3 slices of avocado, and a couple of rashes. Fishish with a pinch or two of the cabbage and any other additional toppings that you like.

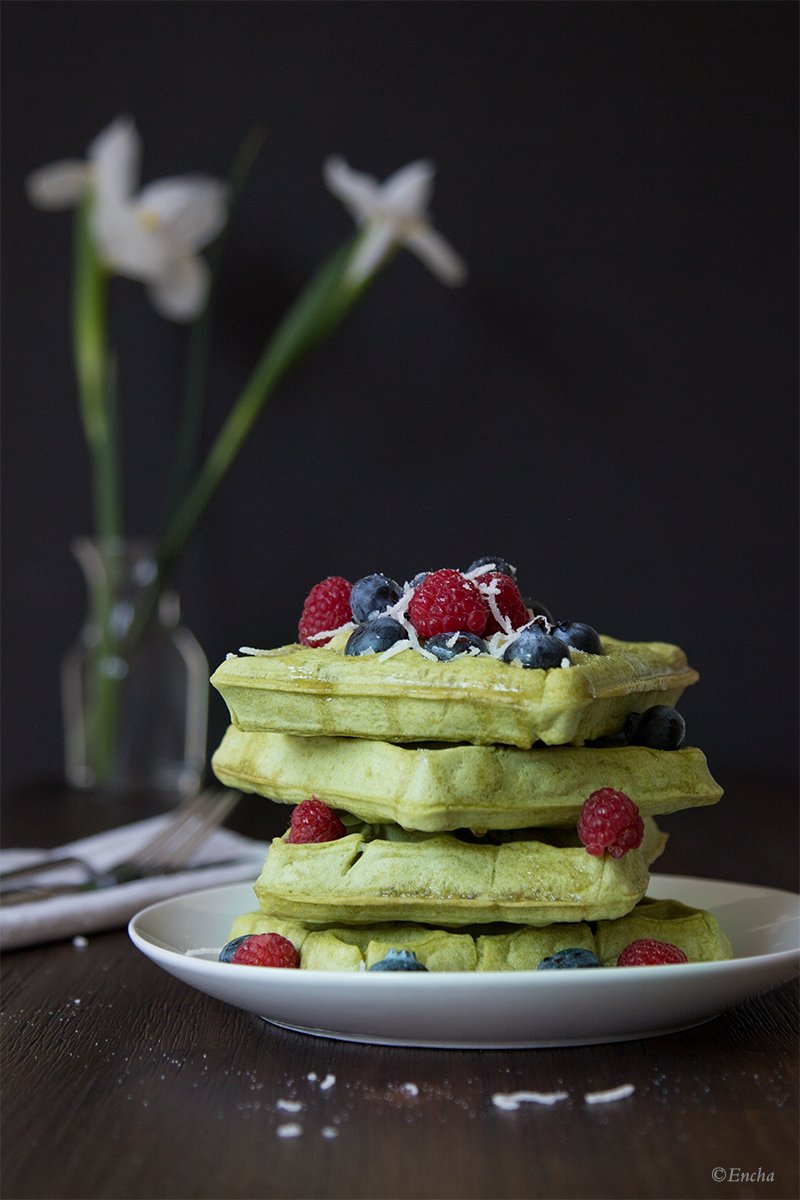
 Gluten free, vegan, dairy free organic Matcha waffles
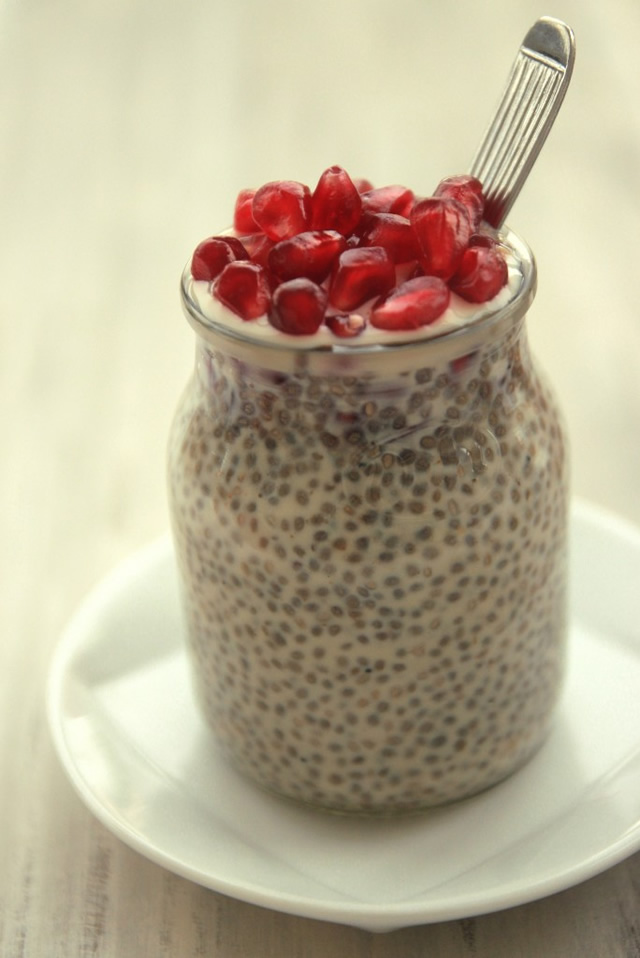
 Go get some chia seeds and make rich, delicious chia pudding right now – you’ll love every bite of it, I promise!
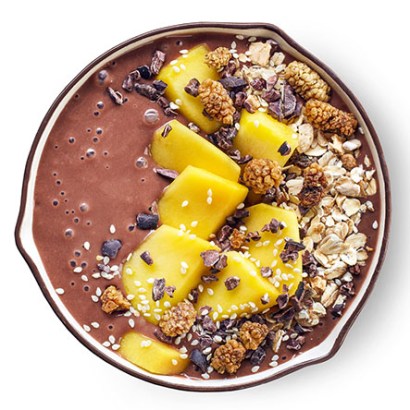
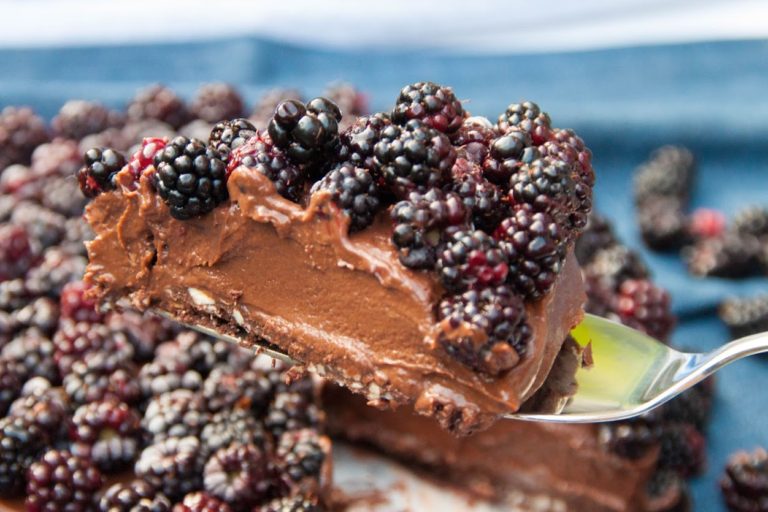

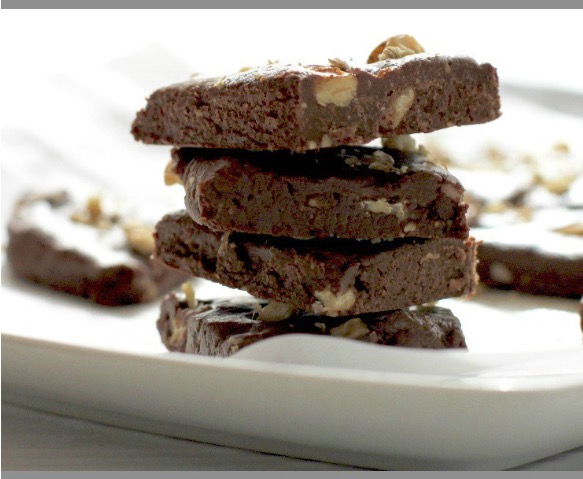
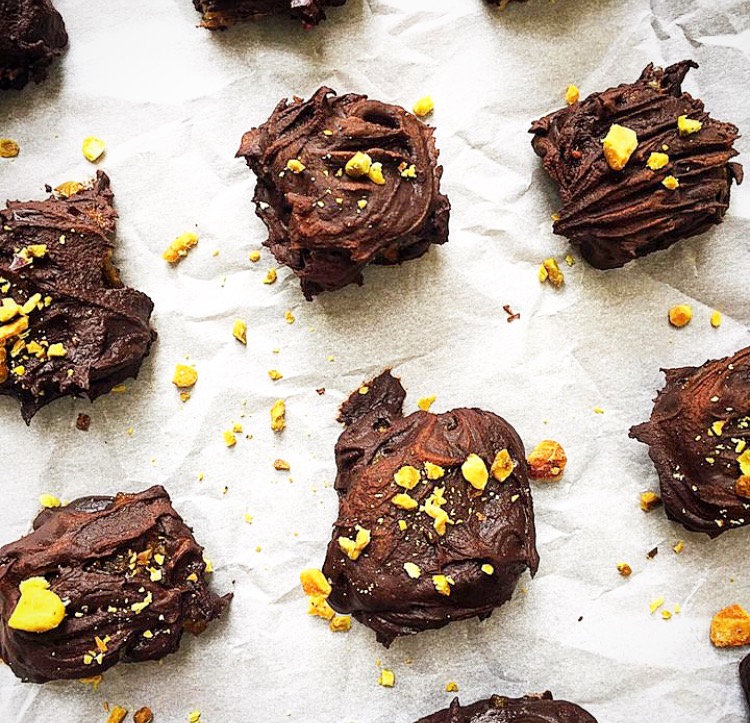
 Calling all chocolate lovers. This no bake Brownie recipe is for you.

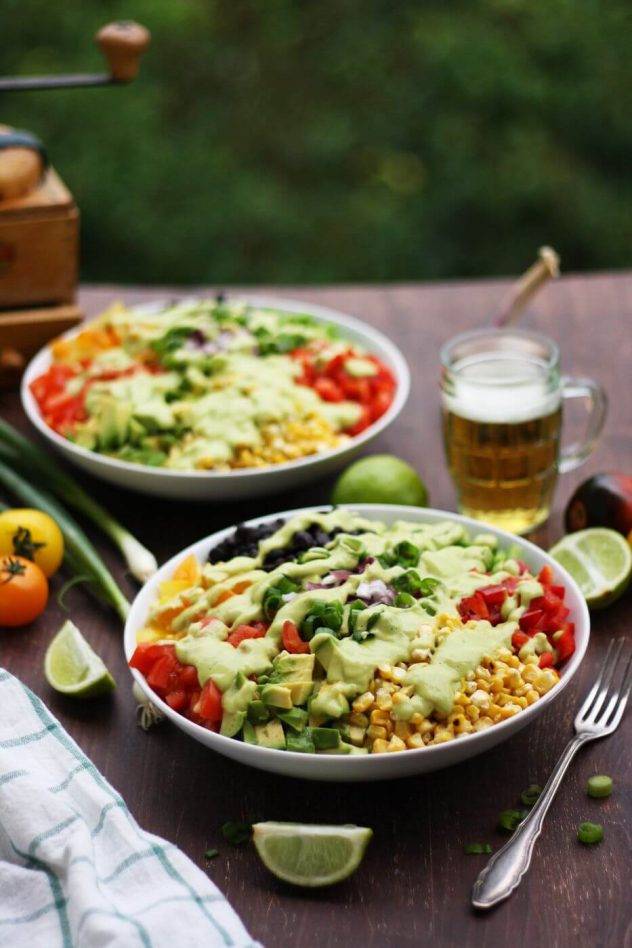
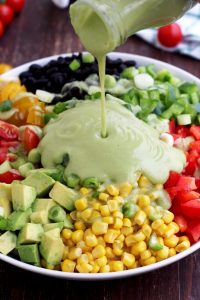

 ROASTED CAULIFLOWER TACOS WITH AVOCADO LIME CREMA
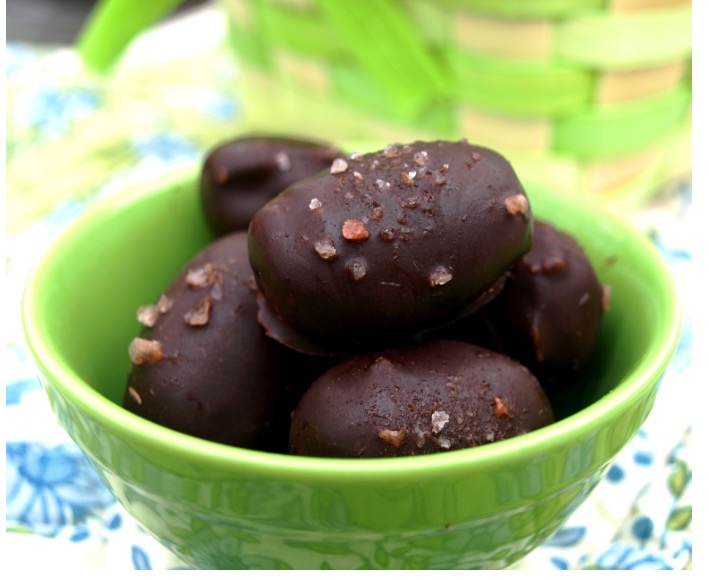
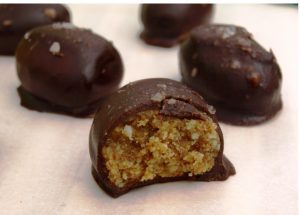 If you’re looking to make an easy last minute Easter treat, these Salted Dark Chocolate Almond Butter Eggs are the perfect choice!they have simple
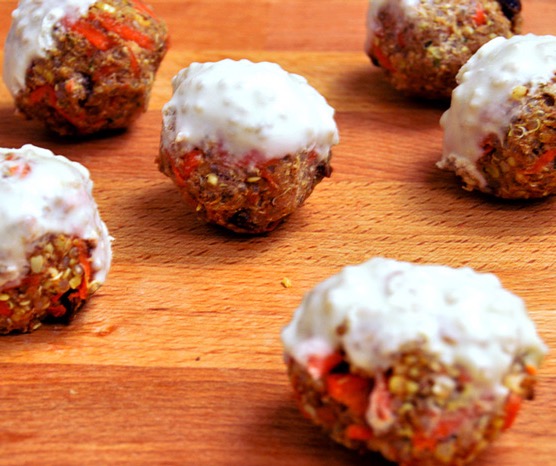
 CARROT CAKE QUINOA BITES
 The raw vegan recipe was born for all our clients who ask “how did you make that” when they get their
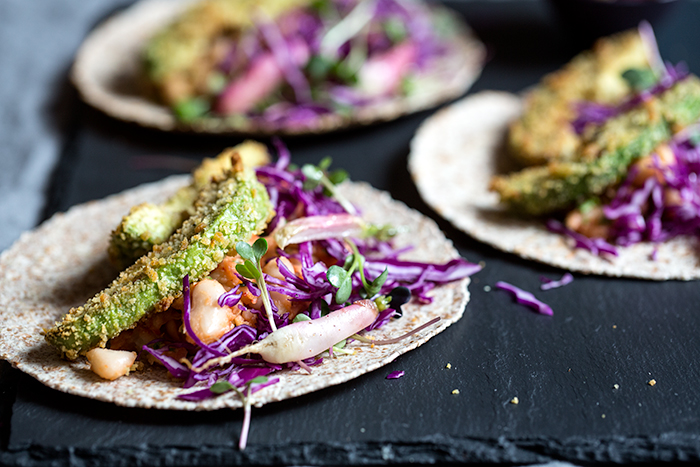
 With only 8
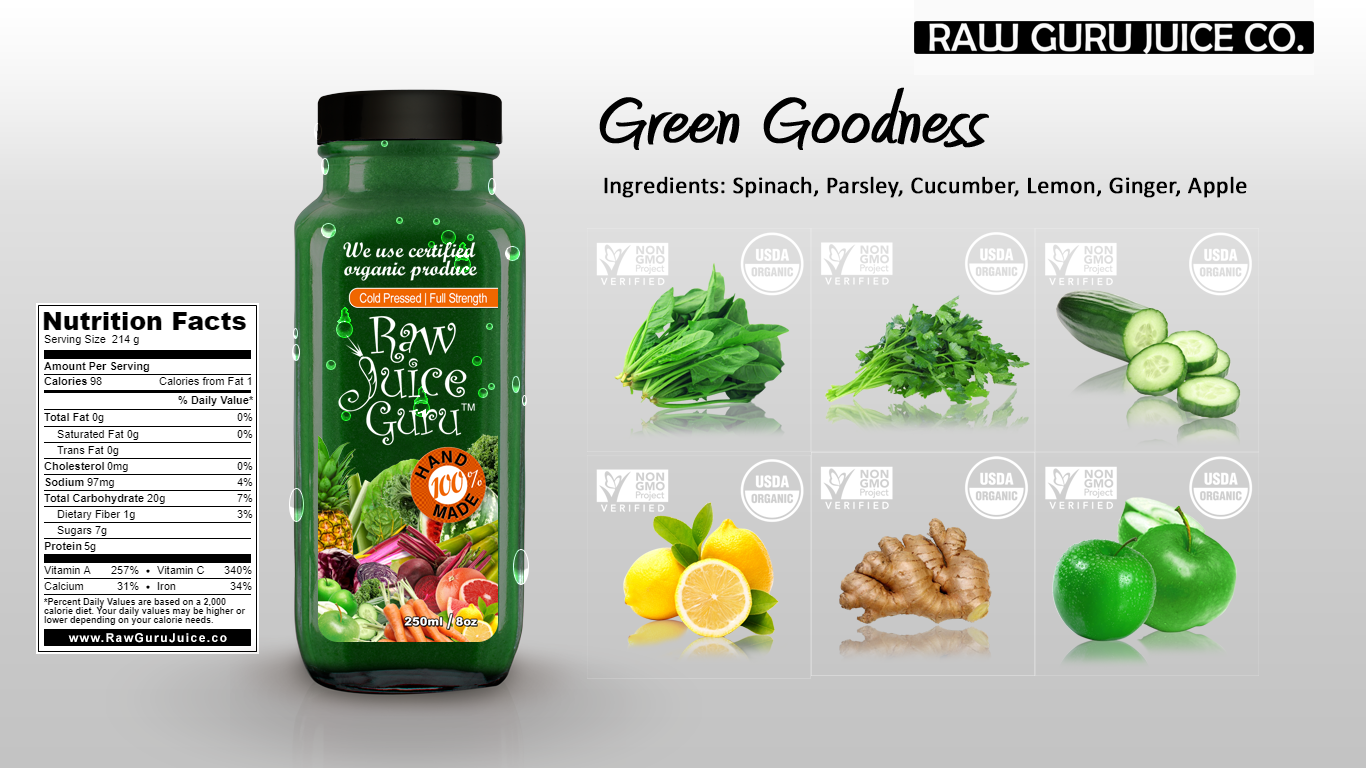
  This amazing juice is packed with chlorophyll, antioxidants, minerals and nutrient dense greens! The celery helps to infuse the body with magnesium and calcium to help soothe the nervous system and prepare the body for rest. Parsley and cucumber boost our immune system by flooding our body with nutrient dense chlorophyll, while ginger aids in digestive fire, helping to alleviate any stomach or intestinal issues.
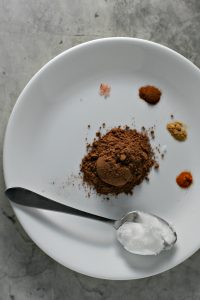 Not only are we using raw cacao powder not to be confused with cocoa powder which is processed. We also added ginger, cinnamon, turmeric and coconut oil, which are all immune boosting and anti-inflammatory
  Ingredients:
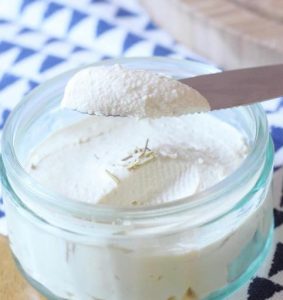 This vegan cashew cream cheese is exceptionally easy to make: just pop all of your
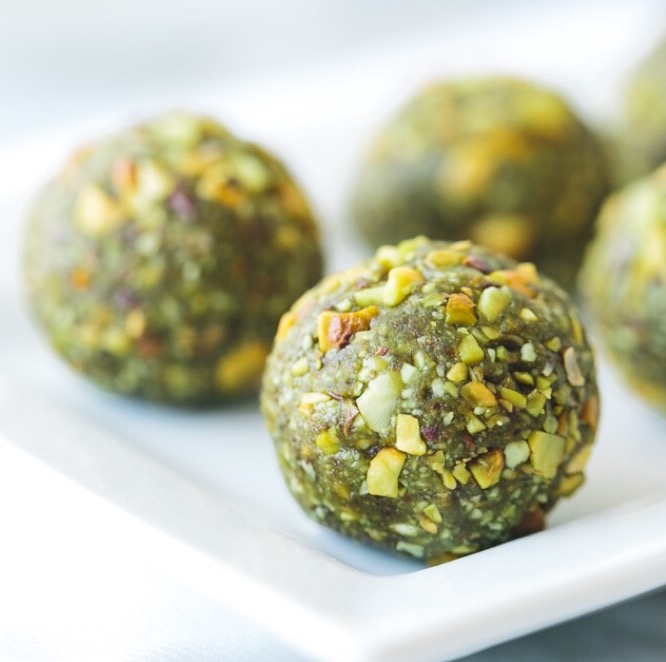
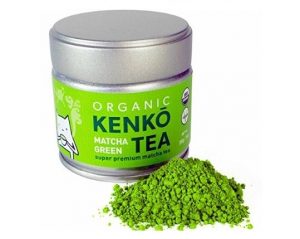 Health benefits of matcha:
 These energy bites Made from matcha green tea are delicious. They are refined sugar free and the perfect sweet, healthy snack. One or two will satisfy your hunger and sweet tooth. They are the perfect treat.
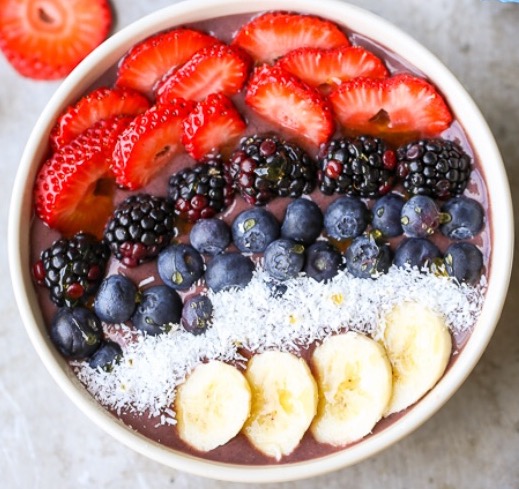
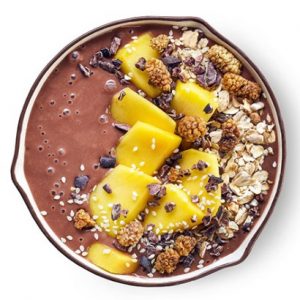
 Acai berries are a great source of fiber and healthy fats. They increase energy production in the mitochondria, keep you hydrated, and help your body fight against oxidative stress, as it is said that their antioxidant benefits are higher than most of the other berry fruits, including blueberries.
 >strong>Instructions
 This avocado dill dip can bring a delicious wrap to that next level perfection. It’s perfect for wraps, burritos, tortillas or tacos. It has a very fresh, yet fragrant flavor thanks to our buddy Garlic.
 Lemon is highly alkalizing and full of Vitamin C, which is important for the synthesis of collagen – the protein, that holds the skin together and makes it nice and firm.
  Further the combination of Vitamin C from Lemon with Vitamin E from Avocado increases the antioxidant properties of both vitamins, so evil free radicals have no chance at damaging your skin.

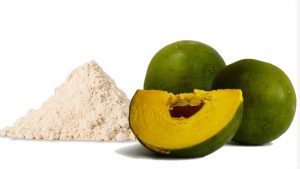 Lucuma is sweet, but low on the glycemic scale, so it is perfect for anyone looking to decrease their sugar consumption. The flavor is similar to caramel or maple, so it lends itself to a wide variety of sweets. For breakfast, add a tablespoon of lucuma powder to smoothies, yogurt, and oatmeal. You can of course use it in desserts as well by blending it into pudding, cakes, cookies, candies, and bars.